Arranging your flowers into a beautiful bouquet is both relaxing and allows you to express your creativity. Remember, there are no hard and fast rules when it comes to styling so feel free to experiment with different vases, flower types, foliage and positioning. Here are our seven top tips on styling your bouquet.
Tip 1: Stay vase wise
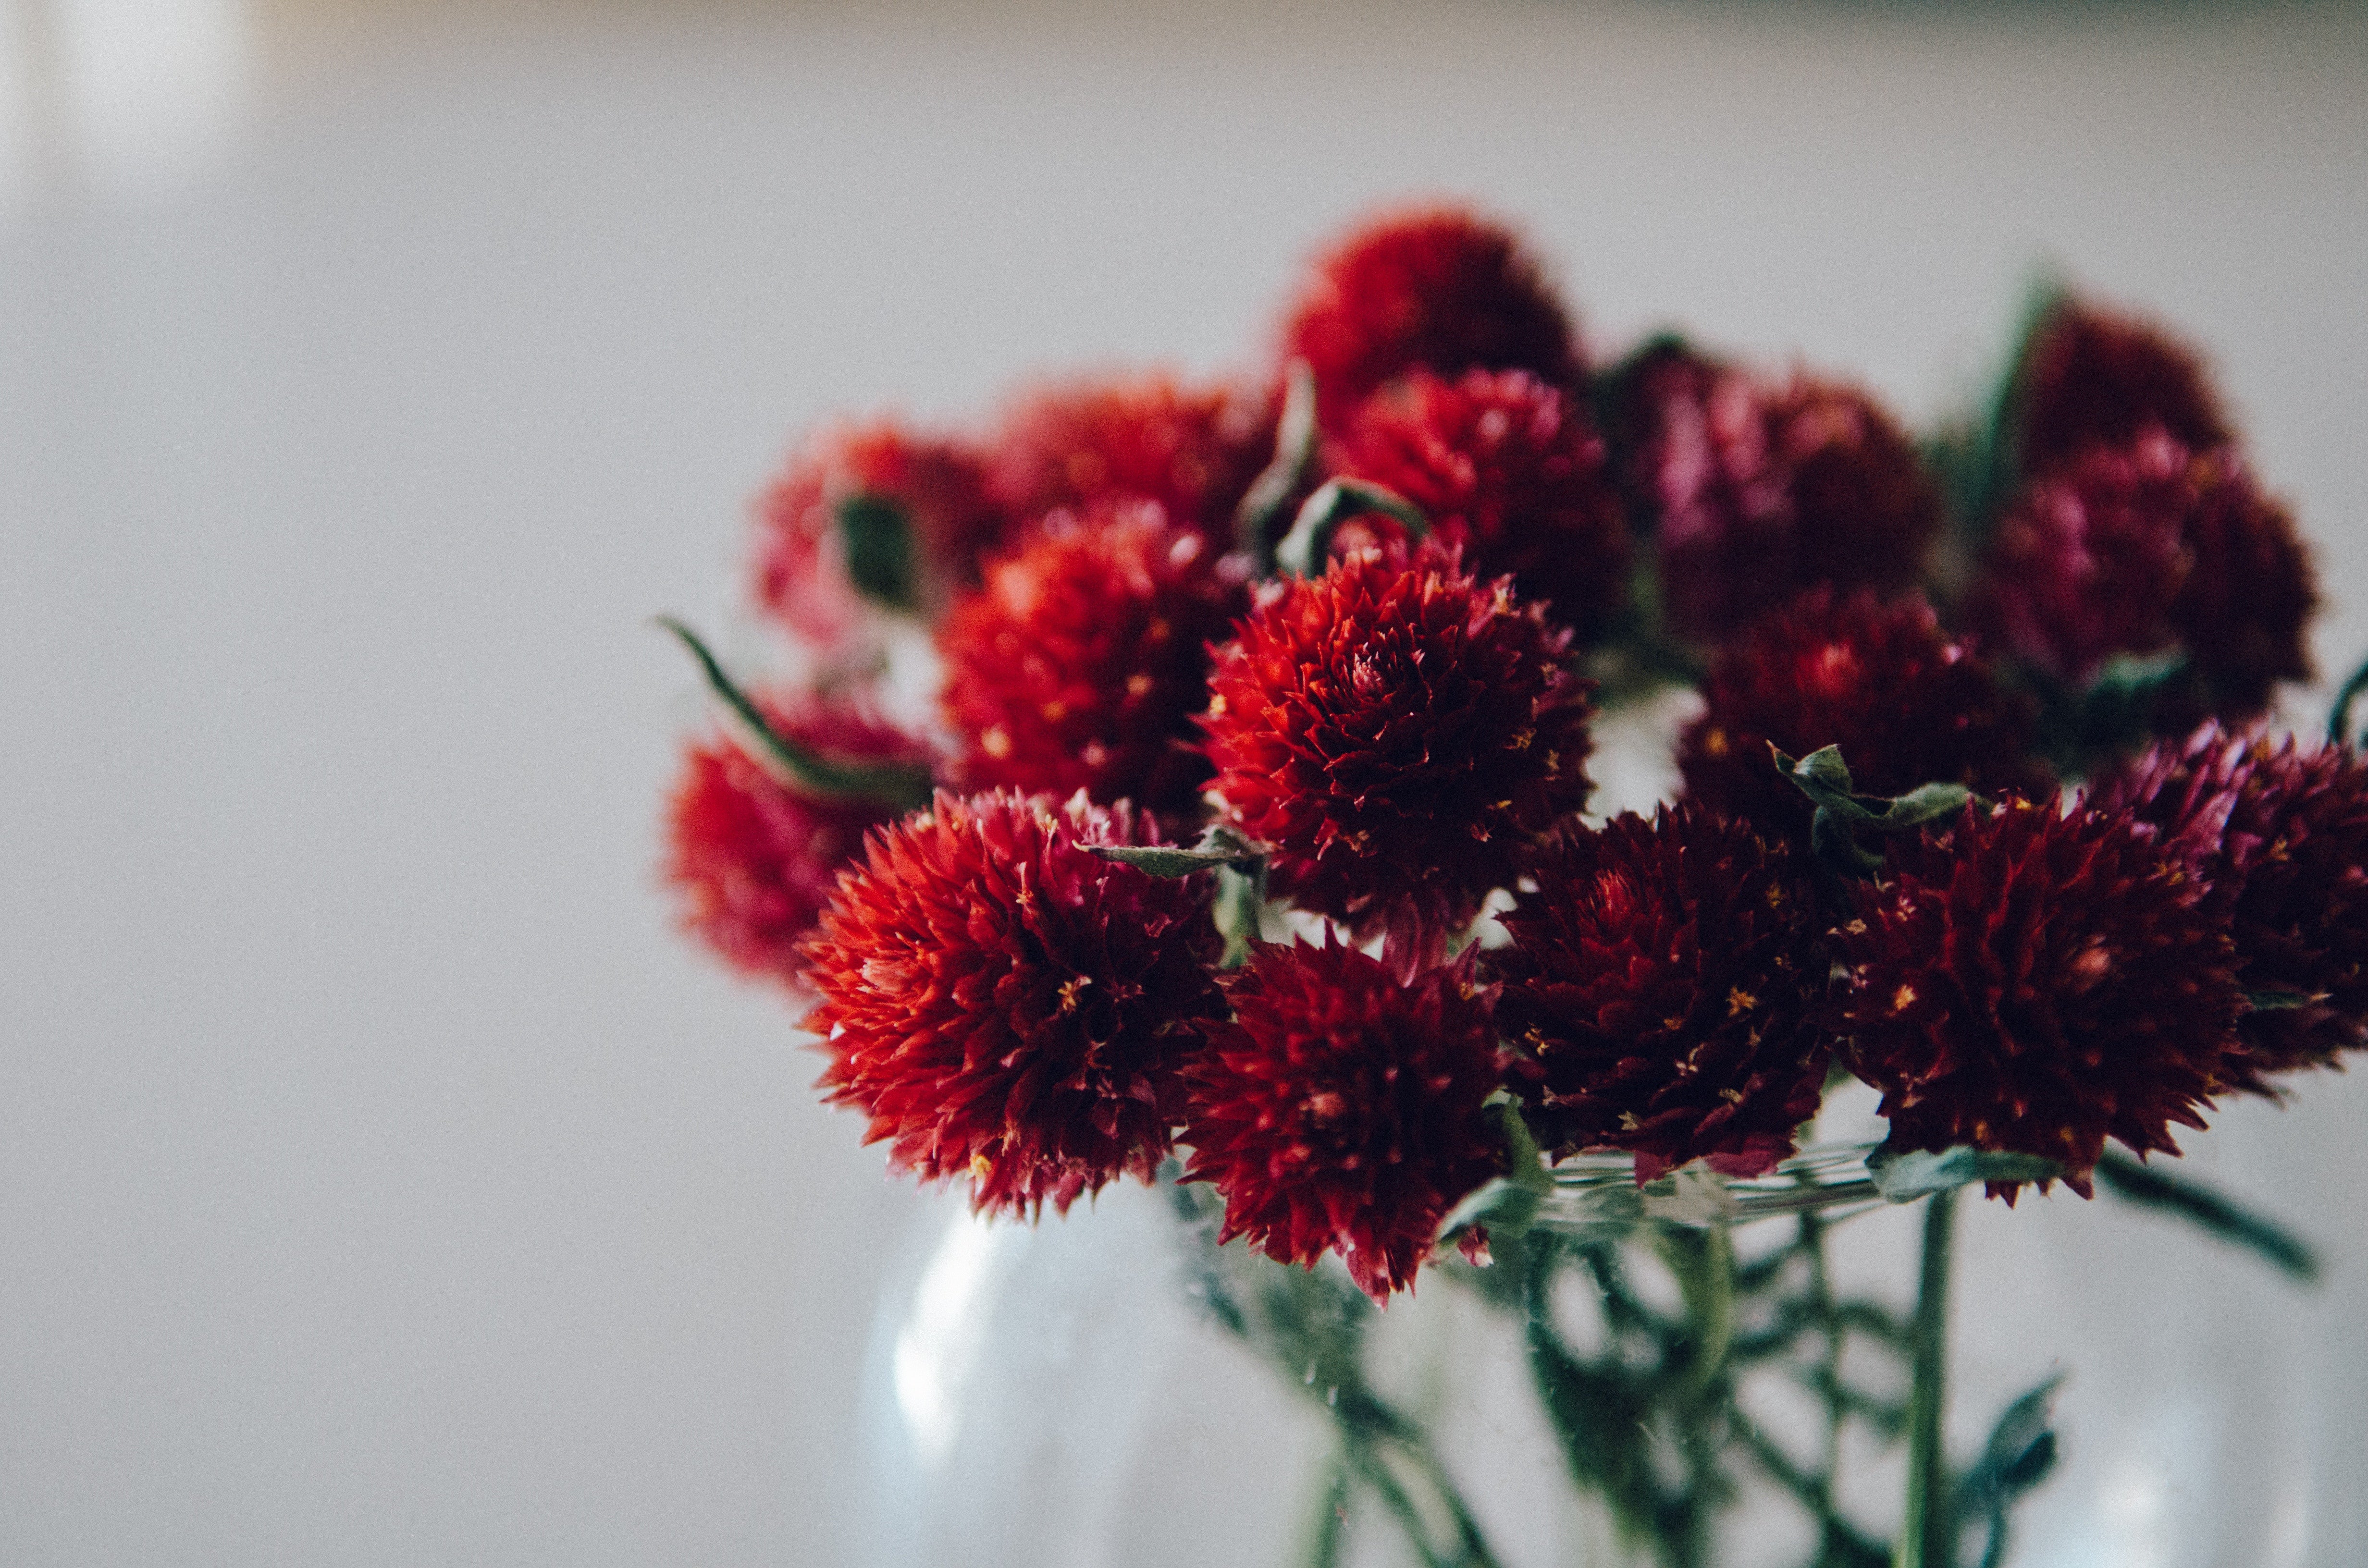
A beautiful vase will elevate any bouquet. The good news is that you can find them in all shapes and sizes and they won’t cost you an arm and a leg. We've picked up some beautiful vintage pieces with a ton of character for less than $10 by visiting your local op shop or charity shop.
When selecting a vase it can help to choose one with a narrower neck. This will prop up your flowers and allow you to fan them out, giving the appearance of fullness. If the neck of your vase is too wide, you can use clear sticky tape to create a grid structure over the top, giving additional support to your flowers.
Each of our stems are generally around 50 cm in length meaning they will fit most vases comfortably. Of course, using a shorter vase is totally fine as you can always trim the stems down to size.

Tip 2: Trim to size
Our flowers are sent without water so it’s important to trim a good 2-3 cm off the end of each stem to allow them to absorb water. We find using a sharp knife and cutting at a 45 degree angle tends to work best (especially for the tougher stems). You might also like to cut a few statement stems shorter to create levels of flowers, adding to the visual interest of the bouquet.
Tip 3: Go wild
Do you have a garden with some interesting foliage? We love to experiment by adding some additional leaves or branches to your bouquet. Foliage adds volume and visual interest to your arrangements and really makes the individual flowers pop. Our favourite s Australian native foliage which not only looks stunning but will also hold up well in the vase.
Tip 4: Choose your side
As a general rule of thumb, start by arranging the largest flowers and then work your way down to the smaller ones. If you intend on placing the bouquet against a wall then create a front that really pops by styling your stems from this angle only. In other words, position the larger 'hero' flowers facing outwards. Similar to adding foliage, this will maximise the visual impact of your bouquet.

Tip 5: Accessorise
Now that you've arranged your beautiful blooms, why not display them on a table dressed with colourful fabric or draped with silk ribbons. Alternatively, you could place a few props around the vase to create additional interest. This can look especially impactful when decorating a room for a party.
Tip 6: Bouquet maintenance
After 2-3 days the water in the vase will start to turn cloudy as bacteria multiplies. This is not only harmful to your flowers but also looks unsightly. Keep your bouquet looking its best by keeping the water clean and removing any flowers that have wilted. Re-trimming your stems at the same time is also a good idea as it will allow them to absorb more water, thereby extending their vase life.
Tip 7: Downsize
Different flowers naturally have different vase lives (see our article on the longest lasting flowers). As flowers start to wilt it is important to remove them from the bouquet. This protects the remaining flowers from the bacteria generated by the wilting flowers. To further extend the life of your flowers it’s best to re-cut the stems every 3 days.
You can also re-style the remaining flowers in smaller bud vases, make little posies with them or add them to a brand-new bouquet. The possibilities are almost endless.