How meaningful and lovely is it when the botanical art in your home comes from the flowers you’ve received on special occasions? Plus, it makes your space feel like spring is perennially here, which definitely brightens up the ambience!
If you’re looking for fun ways to decorate your home and breathe new life into the fresh blooms you have, we’ve got the perfect craft project for you—here’s how you can get started on drying your flowers and framing them up so your walls at home will look absolutely amazing.
How do I dry my flowers?

If you haven’t already, be sure to check out our guide on how to dry flowers—we’d recommend the pressing method in this case so they’ll be flattened and ready for use in frames.
Pressed flowers make gorgeous embellishments for all kinds of craft projects, from jewellery to phone cases, coasters and more, so it’s definitely your go-to method for drying flowers if you’re going to embark on any craft projects. Plus, it’s straightforward and fuss-free, you just need some patience while waiting for them to completely dry out.
Flat flowers such as daisies, pansies, and cosmos are best suited for this method, but you can also press other flowers such as statice, baby’s breath, zinnias and more.
What materials do I need?
Most of these items you may already have lying around the house. Anything you don't shouldn't be too difficult to find at a local variety store or even a supermarket.
- Pressed flowers
- Photo frame
- Decorative sheets of paper
- Scissors
- Tweezers
- Glue
- Ruler
- Small bowl
- Toothpicks
Frame dried flowers with a photo frame

Here’s how you can put dried flowers in a frame! First off, you’ll want to remove the backing and glass from the photo frame, then use a ruler to measure the dimensions of the frame.
If you’re going to be placing your flowers on a piece of decorative paper, make sure the decorative paper is cut to the same size as the backing of the frame.
Now on to the fun part—arranging your pressed flowers into the design you want! Depending on your style and intended layout, you could go with a single colour theme, a mixture of flowers in different sizes, or even a whimsical bouquet design. The sky’s the limit, really.
As the pressed flowers can be very delicate, use a pair of tweezers to arrange them gently until you’re happy with the final design you’ve created.
Pour the glue into a small bowl for added convenience, then pick the flowers up individually with the tweezers, and use the toothpick to add a little bit of glue on the back of each flower. Glue each flower onto the decorative paper according to your design, and once they’ve all been glued on, leave it to dry overnight.
Once that’s all done, you can place the glass, decorative paper, and backing into the frame again and voila—that’s your very own piece of botanical artwork!
Now you can hang it on your wall, or display it on your sideboards, shelves and desks—but remember to keep it cool and dry so it doesn’t become mouldy or discoloured with too much exposure to sunlight.
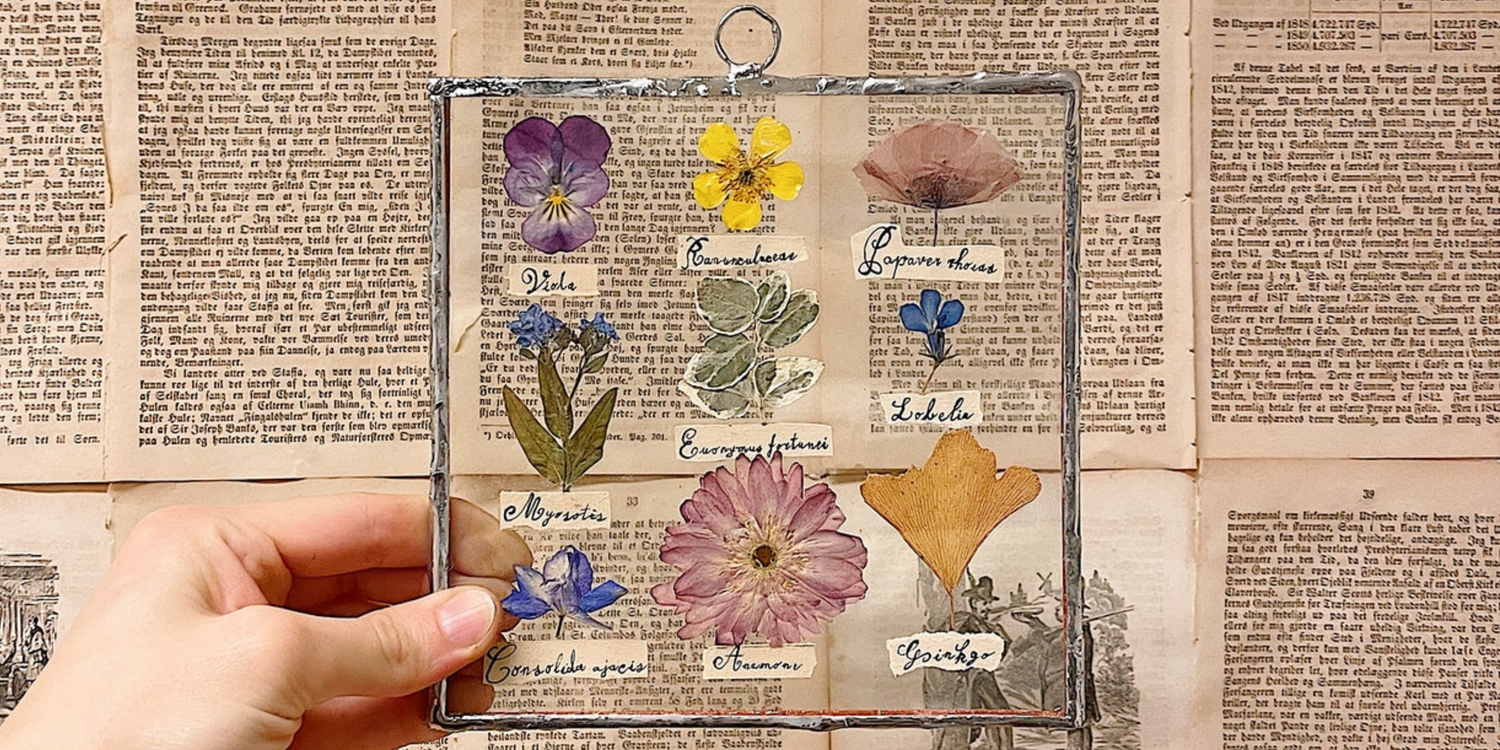
Hang dried flowers using a double glass frame

If you much prefer a clean, minimalist look, then opt for a hanging double glass frame instead of a typical photo frame. You can find plenty of them online which are perfect for pressed flowers.
Start off by cleaning both glass panes before you start placing the flowers—use tweezers to arrange the flowers neatly so you won’t end up leaving fingerprints on the glass panes.
Once you’re happy with the placement of your flowers, use glue that dries to a clear shade to stick them on and press them flat onto the glass pane. Leave them to dry overnight before closing the frame securely. Now all you need to do is admire the end result of your hard work!
Regardless of which frame you use, framed dried flowers make perfect gifts. The next time any of your loved ones have a special occasion coming up, you know what to do!
Got leftover pressed flowers after this craft project? Here are more decoration ideas with dried flowers you can check out!


